|
Last week I drove out to Milwaukee from Ann Arbor for a week-long archive expedition. I had already been in contact with archivists and librarians at the University of Wisconsin-Milwaukee Archives and the archives at the Milwaukee Public Library. This wonderful, searchable database of Wisconsin finding aides was a tremendous help in putting together a precise list of collections, boxes, and specific folders I wanted to consult. Having sent these lists to the two archives ahead of time, they were able to have the boxes ready and waiting for me so I could maximize my reviewing time. In preparation for my trip, I did a fair amount of research on the new technologies available to archive researchers since the last time I did archive research a decade ago. Back in 2010-2011 I did archive research at a handful of archives in Mexico City using a point-and-shoot camera digital camera. In the archives that did not allow photographs, I took notes on a laptop and even copied word-for-word entire documents. Luckily, both the UW-M and the MPL archives allow non-flash photography. I'm sharing some tips of how I made the process work for me (and some lessons learned for next time) in hopes that this is helpful for other researchers. Digitalization with Microsoft Lens app To create digital scans of documents, I elected to use the Microsoft Lens app on my iPhone. I get free institutional access to the Microsoft Office suite, so I'm not sure if this app has a cost for non-affiliated users. Here's how I used the app:
Equipment to bring with you to the archive In addition to bringing your phone (and water and snacks!), there are also a few pieces of equipment that I found essential or that wish I had brought with me.
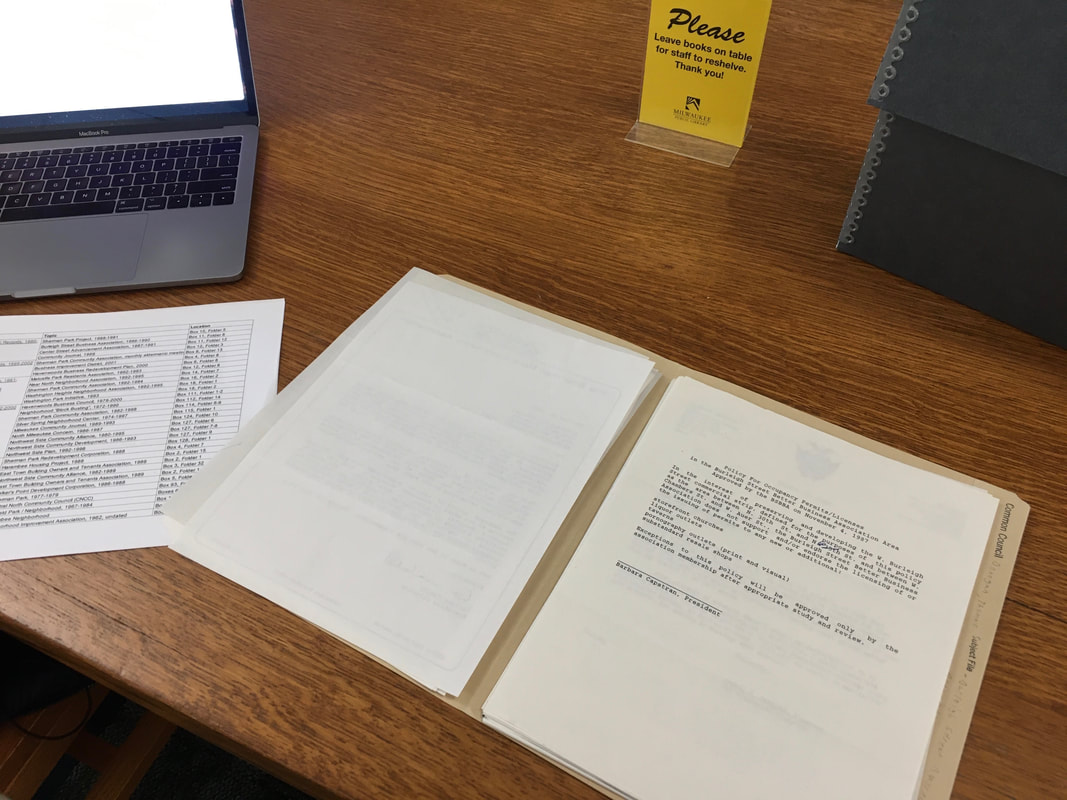
My set-up at the Milwaukee Public Library archive. To the left, the list of individual collections, boxes, and folders that I planned to consult.
Comments are closed.
|
archives
January 2022
categories
All
disclaimerThe views expressed in this blog and on this website are my own.
|

 RSS Feed